
timelapse
timelapse
The basics
Timelapse photography is a technique in which a series of photographs are taken at regular intervals and then played back as a video, resulting in a compressed view of an event or scene. It is often used to show the passage of time in a way that is difficult to perceive in real time.
The interval between each photograph can range from a few seconds to several hours, depending on the subject being photographed and the desired effect. For example, a timelapse of a flower blooming might be taken at intervals of a few minutes, while a timelapse of a construction project might be taken over several months with intervals of several hours.
My approach
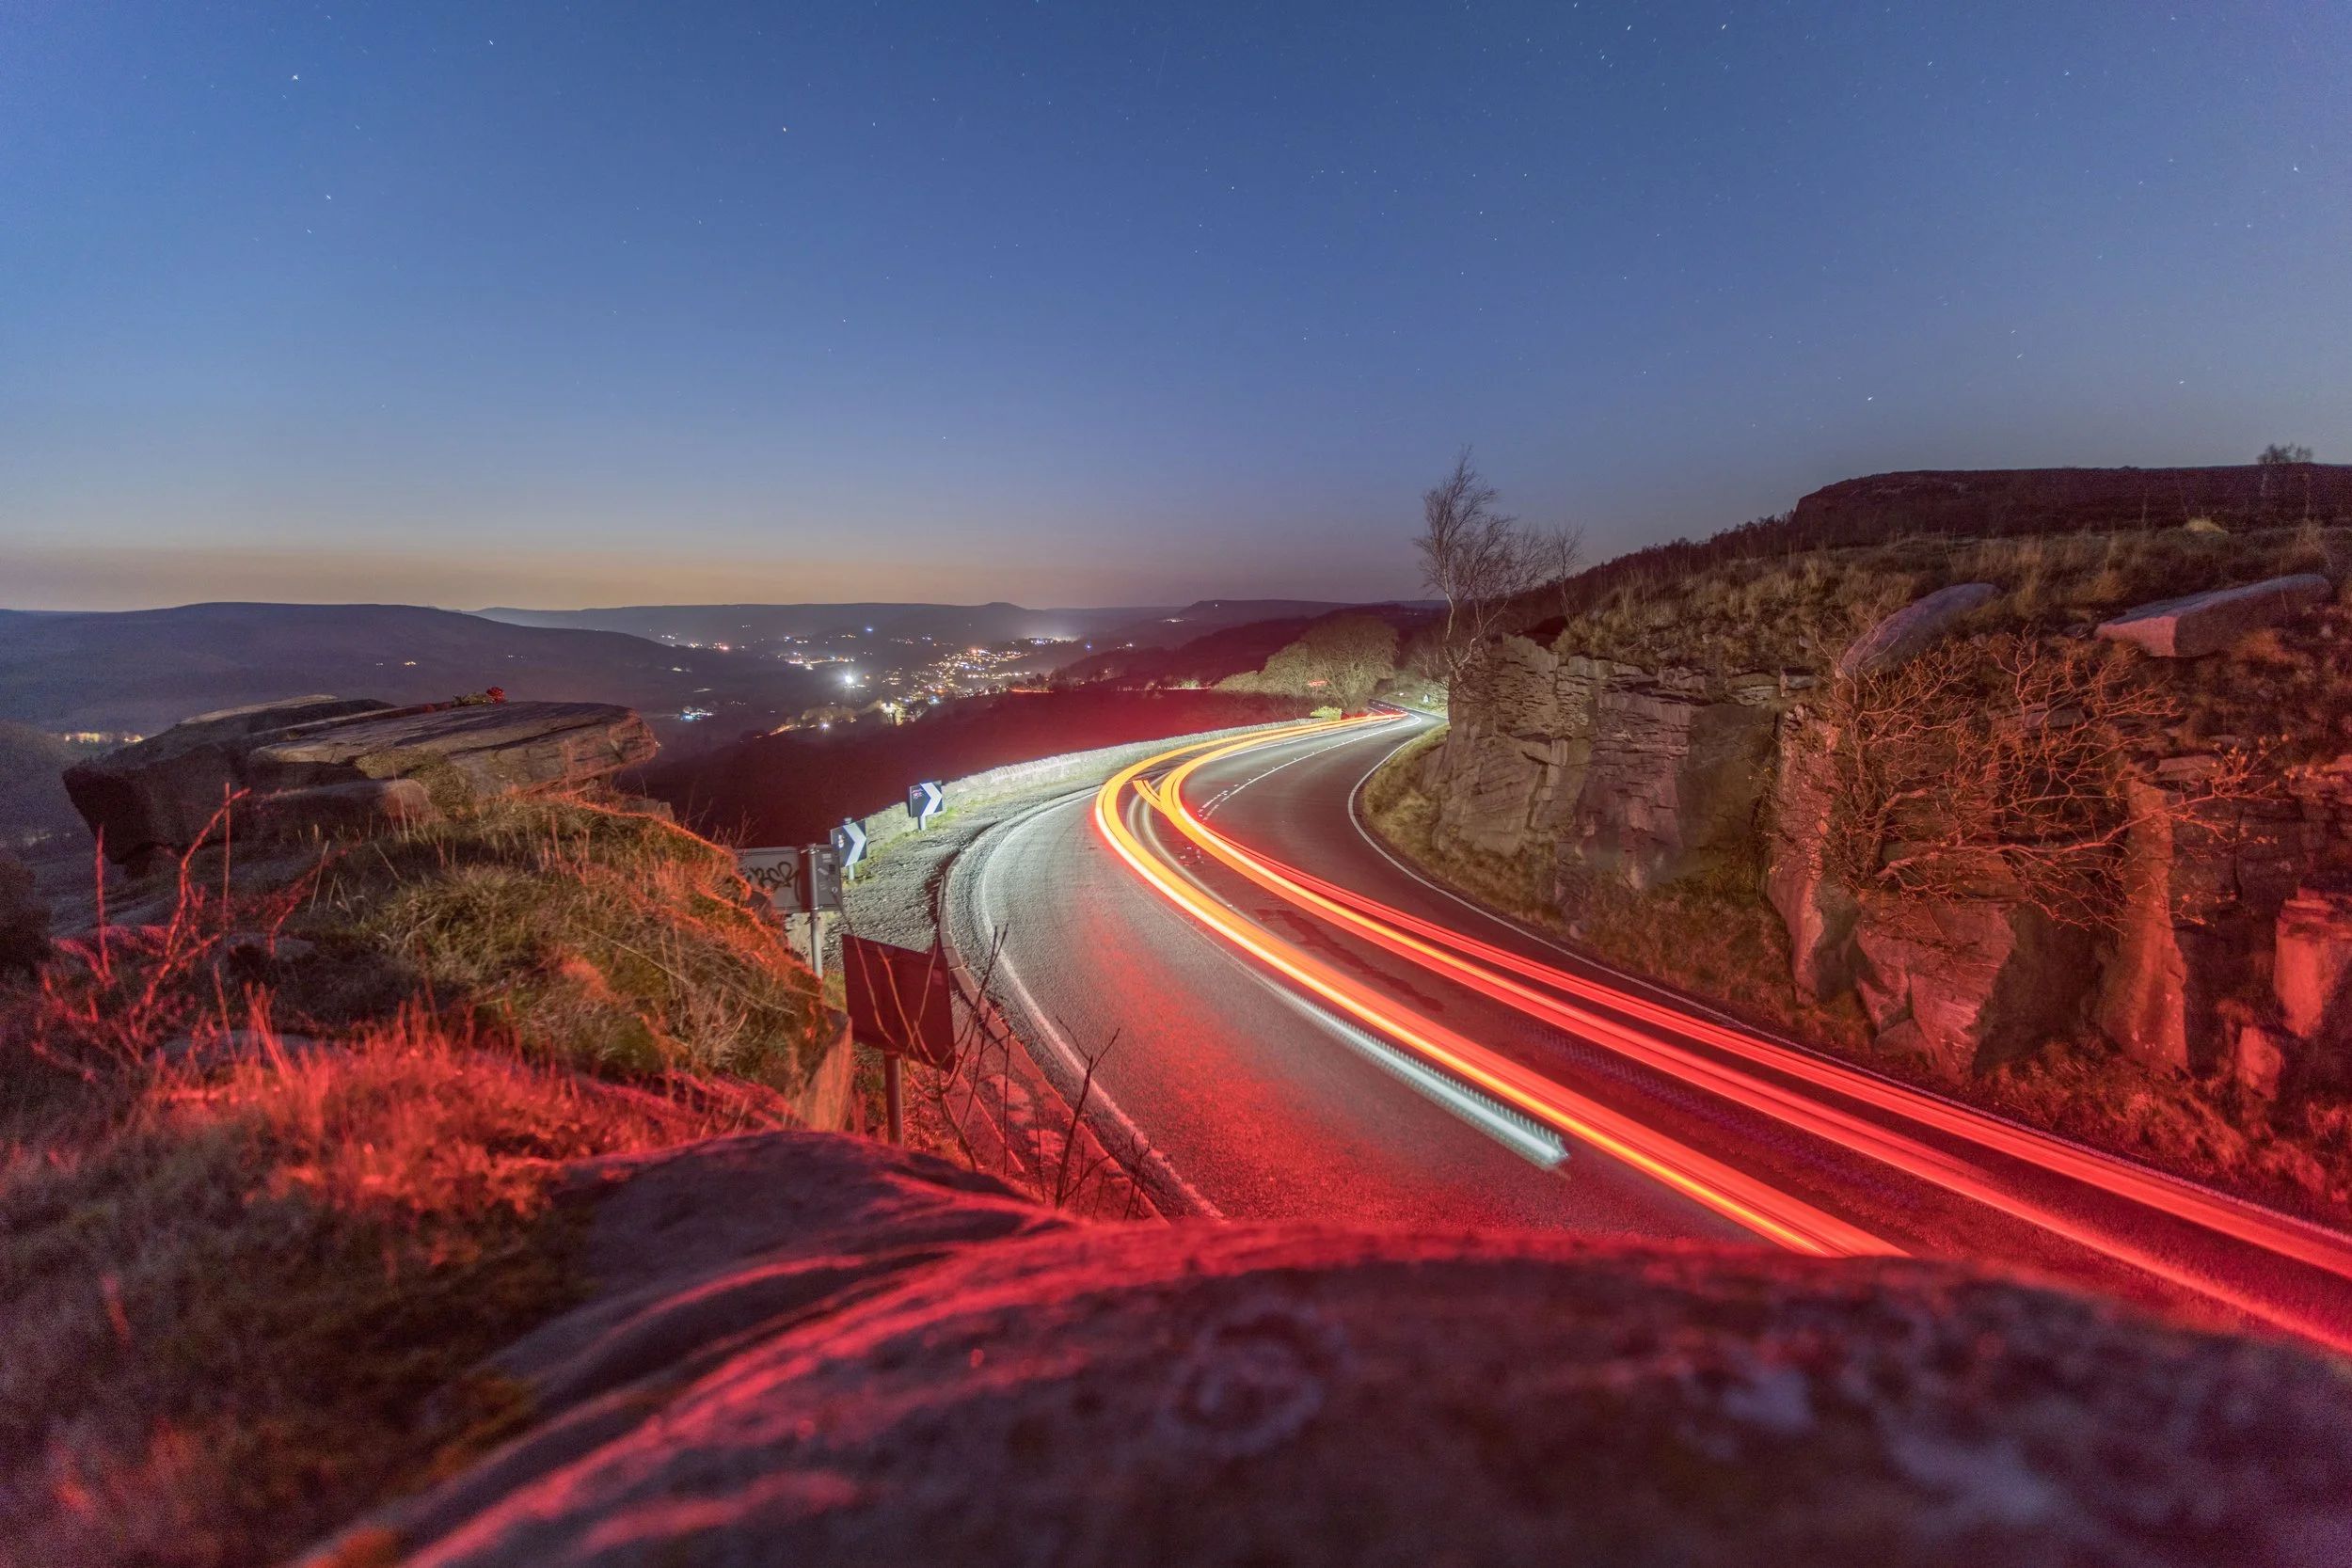
Gone are the days, I believe, when a timelapse is achieved simply by the camera operator rolling video for 10mins, and then speeding that clip up in post production. It just doesn’t cut it in today’s world where jaw dropping timelapses / hyperlapses are being uploaded to social media platforms daily.
Here’s some common theme’s I try to adhere to…
Movement - I’ll do all I can to avoid a static shot. Movement within these shots is what sets them apart from the old school approach.
Fluidity - No choppy timelapses. I generally don’t like to shoot timelapses with any less than a 1 second exposure to ensure a continual natural motion blur throughout. I’ve always felt that timelapses with short exposures tend to feel quite jarring.
Stability - No wobbly timelapses. I’m quite obsessive with the stabilisation of my shots. I often apply multiple layers of stabilisation to ensure that the end result is smooth as can be.
Image quality - De-flickered, De-noised, any unwanted artefacts painted out (birds, roadworks etc), to ensure a clean end product.
Creative techniques
Creative techniques
Traditional Timelapse
A traditional timelapse is the simplest type of timelapse to execute. It’s also one of the most readily available approaches in consumer devices, such as phones, tablets, and action cameras.
The camera is mounted to a fixed point (often on a tripod, suction mount, magic arm, or even just sat on a steady surface), and then takes a set amount of photos upon equal intervals. The resulting sequence of photos is then compiled into a video file to form the timelapse
A traditional timelapse can be left to run unmanned for anything from a few minutes, to days, weeks, months, or even years.
Hyperlapse
To create a hyperlapse video the photographer will take a series of still photographs at regular intervals whilst moving the camera an equal distance between each shot. This can be done by shooting handheld, with a tripod / monopod, or with a gimbal. Typically the photographer will align a specific part of the shot in-camera with their cross hairs / grid guide. Every time a shot is taken and the camera is moved, it is essential that the cross hairs / grid guide are corrected to remain on that specific part of the shot. Once the shot is complete, the photo sequence is imported into post production software where essential stabilisation is carried out to finalise the shot.
The final result is a hugely dynamic shot, that gives the viewer a sense of travelling through space and time. Hyperlapse shots are perfectly suited to show off a location or event, such as a famous landmark, music festival, or conference / exhibition.
Before stabilisation
After stabilisation
Motion Control Timelapse
Motion control timelapse, is a technique that involves using motorized equipment to move the camera in small increments over time. The camera is usually mounted on a slider or a pan-tilt head, and the equipment is programmed to move the camera a certain distance at regular intervals.
The main difference between hyperlapse and motion control timelapse is the amount of movement involved. Hyperlapse involves moving the camera over long distances, while motion control timelapse involves moving the camera in small increments. This difference in movement creates a different look and feel in the resulting footage. Hyperlapse creates a fast, fluid, and dynamic effect, while motion control timelapse creates a slower, more controlled, and smoother effect.
Both techniques have their uses and advantages depending on the type of video being created and the desired effect. Hyperlapse is great for creating dynamic, fast-paced videos that show a lot of movement, while motion control timelapse is ideal for creating slow, controlled shots that focus on details and movement within a small area.
Unlike hyperlapse shots, motion control shots require little to no stabilisation in postproduction. They do however require more setup time on the shoot.

Aerial Timelapse & Hyperlapse
An aerial hyperlapse is a type of hyperlapse that is captured from a drone or any other aerial device. It involves moving the camera along a path while also changing the altitude to create a unique and dynamic perspective. Aerial hyperlapse videos often showcase landscapes, cityscapes, and other outdoor scenes from a bird's eye view, and the resulting footage is often breathtaking.
The drone is flown along a predetermined path, usually in a straight line or along a curve, while the camera captures footage at regular intervals. The footage is then processed and edited to create a fast-motion effect, resulting in a hyperlapse video.
Holy Grail Timelapse
A "holy grail" timelapse is a type of timelapse photography that captures a specific type of lighting transition: the transition from day to night or from night to day. This type of timelapse is also known as a "day-to-night" or "night-to-day" timelapse.
The term "holy grail" refers to the fact that capturing this type of transition can be one of the most challenging aspects of timelapse photography. It requires careful planning, precise camera settings, and often, specialized equipment such as a motorized camera mount or a light sensor.
The reason why a holy grail timelapse is challenging to capture is because it involves a significant change in lighting conditions over a relatively short period of time. As the sun rises or sets, the amount and color of light in the scene can change dramatically, and this can make it difficult to maintain a consistent exposure and colour balance throughout the timelapse.
Multi-Camera Zoom
The shot is taken with 2x (sometimes more) cameras, each shooting at a different focal length. Generally one wide shot, and one tighter. The 2x shots are then aligned in post-production, and a zoom effect is added scaling both shots up simultaneously whilst losing no loss in resolution.

Timeslice
Taking a holy grail timelapse, the shot is then duplicated multiple times within post-production software. Each duplicate layer is then sliced into any shape of your chosing. Working through each layer individually, the shot is slipped by equal amounts, say 1 or 2 seconds each layer. The finished result is a beautiful rainbow effect of daylight / golden hour / night.
Animated
Component parts of the shot are individually cut out within post production and animated in time with music, dialogue etc. Every time a component part moves from it’s position a hole is left in the original image. Therefore a background image has to be painstakingly created cloning other areas within the shot.
Match Cut
By definition, a match cut is not actually a timelapse, but certainly shares commonalities with them. Taking a recurrent pattern across multiple subjects (eg shapes, street signs, faces) a single photograph is taken of each subject matter. Each shot is then aligned in post production so that the common pattern is in the exact same part of the frame throughout the sequence.
3D Compositing
There are of course some occasions that don’t allow for a motion control setup, be it a lack of access or strict health and safety policies. With 3d compositing techniques a motion control shot can be replicated, adding that slow cinematic move to an otherwise static shot. This particular example was shot from a hotel corridor window, through the glass, all indoors. By compositing a balcony rail, some lighting effects, and adding a 3d camera move into the scene, it feels like we’re on top of the building looking over the edge.
Original Shot
3d Composite
Timelapse Reel - Events & Production
trusted by
trusted by
Here’s some of the incredible broadcasters and brands that have licensed some of my timelapse & hyperlapse shots.